
Step-by-Step Guide to Restoring a Classic Car
- Custom Restore
- Feb 15
- 4 min read

Updated: Feb 18
Restoring a classic car is a journey filled with excitement, challenges, and a deep sense of accomplishment. Whether you’re bringing back a cherished family heirloom or reviving a vintage beauty you found at a local auction, the process is rewarding beyond words. Together, we’ll explore the essential steps to breathe new life into these timeless machines, making sure every detail shines as brightly as the day they first rolled off the production line.
Getting Started: Planning Your Restoration Project
Before diving into the nuts and bolts, it’s crucial to have a clear plan. Restoration isn’t just about fixing what’s broken; it’s about understanding the car’s history, setting realistic goals, and preparing for the work ahead.
Assess the car’s condition: Take a thorough look at the bodywork, engine, interior, and chassis. Identify rust spots, missing parts, and mechanical issues.
Set a budget: Restoration can be costly, so decide how much you’re willing to invest. Remember to include costs for parts, tools, and professional help if needed.
Gather documentation: Manuals, original specifications, and previous service records are invaluable. They guide you in maintaining authenticity.
Create a timeline: Restoration can take months or even years. Setting milestones helps keep the project on track without feeling overwhelming.
Taking these initial steps ensures we’re prepared for the adventure ahead, making the process smoother and more enjoyable.
Disassembly and Inspection: The Foundation of Restoration
Once the planning is done, it’s time to roll up our sleeves and start disassembling the car. This step might feel daunting, but it’s essential for a successful restoration.
Label everything: As you remove parts, label and photograph each component. This will save headaches when it’s time to reassemble.
Inspect parts carefully: Look for wear, corrosion, and damage. Decide which parts can be repaired and which need replacing.
Organise your workspace: Keep parts in clearly marked containers or bags. A tidy workspace helps prevent loss and confusion.
Disassembly is like peeling back the layers of history. It reveals the car’s true condition and sets the stage for the detailed work ahead.

Bodywork and Paint: Bringing Back the Shine
The bodywork is where the car’s character truly comes to life. Restoring the exterior requires patience and attention to detail.
Rust removal: Rust is the enemy of classic cars. Use sandblasting, chemical treatments, or manual sanding to remove it completely.
Dent repair: Small dents can be fixed with body filler, while larger damage might require panel replacement.
Priming and painting: Choose paint colours that match the original or suit your vision. Multiple coats of primer and paint, followed by clear coats, will give a durable, glossy finish.
Polishing: After the paint cures, polishing brings out a mirror-like shine.
This stage transforms the car from a worn relic into a stunning showpiece, ready to turn heads on the road.
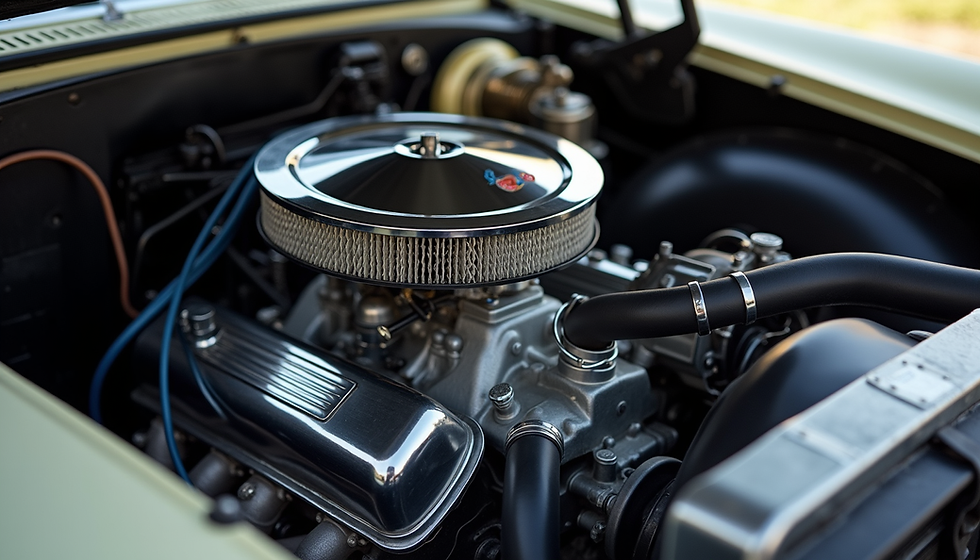
Mechanical Restoration: Reviving the Heart of the Car
The engine, transmission, brakes, and suspension are the heart and soul of any vehicle. Restoring these components ensures your classic car runs as beautifully as it looks.
Engine rebuild or replacement: Depending on the condition, you might rebuild the original engine or source a period-correct replacement.
Brake system overhaul: Replace worn pads, discs, and lines to ensure safety.
Suspension and steering: Check for worn bushings, shocks, and steering components. Replace or refurbish as needed.
Electrical system: Inspect wiring, lights, and gauges. Upgrading to modern wiring harnesses can improve reliability without sacrificing authenticity.
Taking the time to restore mechanical parts properly means your car will be reliable and enjoyable to drive for years to come.

Interior Restoration: Comfort Meets Classic Style
The interior is where we experience the car’s personality up close. Restoring seats, dashboards, and trim brings comfort and style back to life.
Upholstery: Repair or replace seat covers with materials that match the original fabric or leather.
Dashboard and controls: Restore gauges, knobs, and switches. Consider refurbishing wood or metal trim.
Carpets and headliners: Replace worn or stained materials with period-correct options.
Detailing: Clean and polish all surfaces to give the interior a fresh, inviting feel.
A beautifully restored interior invites us to enjoy every journey, making the car feel like home once again.
Final Assembly and Testing: Bringing It All Together
With all parts restored and ready, it’s time to reassemble the car carefully.
Follow your labels and photos: This is where your organisation pays off.
Double-check connections: Ensure all mechanical and electrical systems are properly connected.
Test drive: Start with short trips to check for any issues. Listen for unusual sounds and monitor performance.
Adjust and fine-tune: Make necessary adjustments to brakes, suspension, and engine settings.
This final phase is incredibly satisfying. Seeing the car come back to life and perform beautifully is the reward for all your hard work.
Keeping the Classic Spirit Alive
Restoring a classic car is more than a project - it’s a labour of love. Each step we take honours the craftsmanship and history behind these vehicles. Whether you’re tackling a full restoration or just refreshing a few parts, the key is patience, passion, and attention to detail.
If you’re wondering where to start or how to approach your own restoration, check out this helpful how to restore a classic car guide. It’s packed with expert tips and insights that can make your journey smoother.
Remember, every classic car has a story waiting to be told. By restoring it, we’re not just fixing a machine - we’re preserving a piece of history for future generations to admire and enjoy. Let’s keep these beautiful vehicles on the road, shining bright and turning heads wherever they go!


Comments